
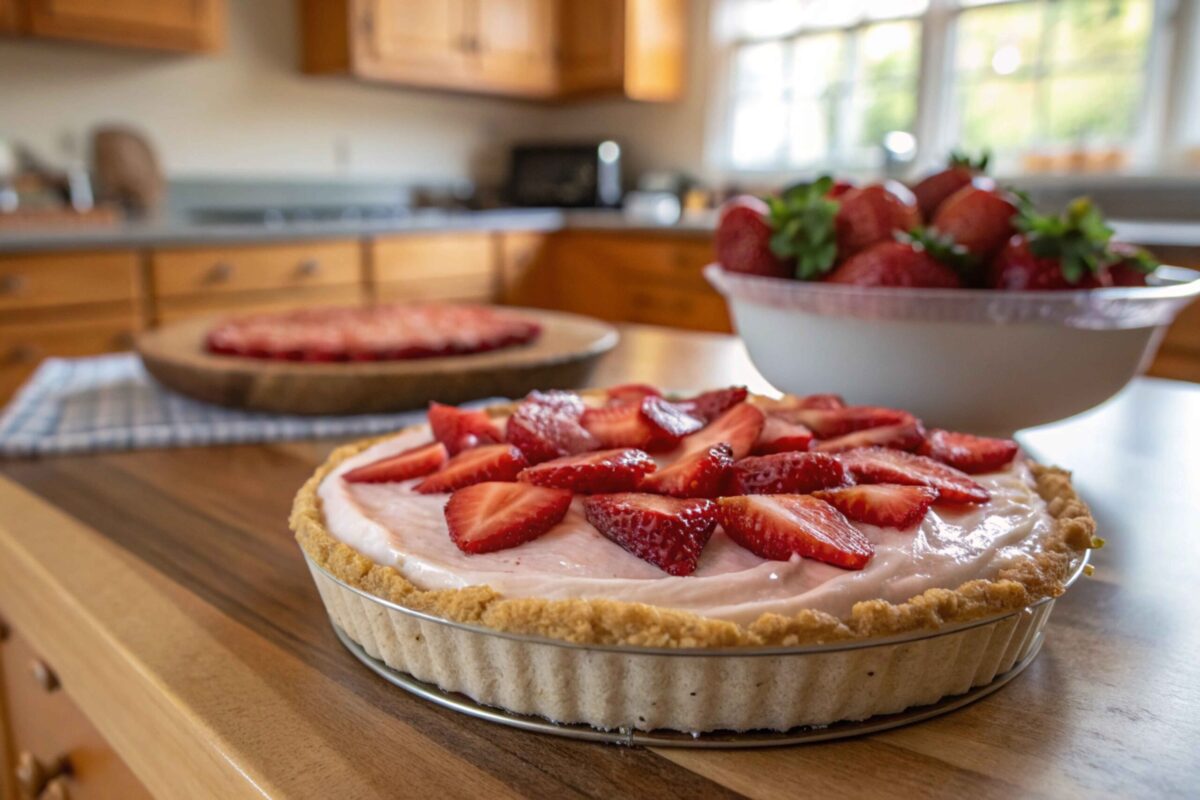
Strawberry Icebox Pie is a timeless dessert that combines the sweet and tangy flavors of fresh strawberries with a cool, creamy filling and a crisp crust. Perfect for warm days or as a refreshing treat after a hearty meal, this dessert is as visually appealing as it is delicious. Whether you’re an experienced baker or a novice in the kitchen, this pie is a must-try. Here’s everything you need to know to prepare it flawlessly, including a cooking time table, internal temperature guide, steps for success, tips, and common mistakes to avoid.
Cooking Time Table for Strawberry Icebox Pie
| Step | Time Required |
|---|---|
| Preparing the crust | 10-15 minutes |
| Chilling the crust | 20-30 minutes |
| Making the filling | 10-15 minutes |
| Assembling the pie | 10 minutes |
| Chilling the pie | 4-6 hours (or overnight for best results) |
Internal Temperature Guide
While Strawberry Icebox Pie is not baked, ensuring the proper consistency of certain components is crucial. Here’s a quick guide:
- Crust: For pre-baked crusts (optional), aim for an internal temperature of 350°F (177°C) for 8-10 minutes until lightly golden.
- Filling: The gelatin mixture in the filling should reach about 130°F (54°C) to ensure it dissolves fully.
- Set Pie: While not temperature-specific, the pie should feel firm to the touch after chilling, indicating that the filling has set properly.
Steps for Best Results
- Prepare the Crust:
- Start with a graham cracker or cookie crust for the base. Crush the crackers finely and mix with melted butter and a bit of sugar for sweetness.
- Press the mixture firmly into the pie dish and refrigerate until firm. If using a baked crust, allow it to cool completely before proceeding.
- Make the Filling:
- Blend fresh strawberries into a puree. Strain to remove seeds for a smooth texture.
- Mix the puree with cream cheese, sugar, and a splash of vanilla. Whip heavy cream separately and fold it into the strawberry mixture for a light and airy filling.
- Dissolve gelatin in warm water and gently incorporate it into the filling to help the pie set.
- Assemble the Pie:
- Pour the filling into the prepared crust. Smooth the top with a spatula for an even surface.
- Decorate with sliced strawberries or a dollop of whipped cream for a beautiful presentation.
- Chill to Set:
- Refrigerate the pie for at least 4 hours, though overnight chilling yields the best results.
- Serve and Enjoy:
- Slice with a sharp knife for clean cuts. Serve chilled and garnish as desired.
Tips for Cooking Strawberry Icebox Pie
- Use Fresh Ingredients: Fresh strawberries make a huge difference in flavor. Frozen berries can work in a pinch but may result in a slightly watery texture.
- Strain the Puree: Straining the strawberry puree removes seeds, ensuring a silky-smooth filling.
- Chill the Bowl: When whipping cream, use a chilled bowl to achieve a stable whip.
- Layer Flavor: Add a touch of lemon zest or a dash of balsamic vinegar to the filling for a sophisticated flavor boost.
- Secure the Crust: Press the crust firmly into the dish and up the sides to prevent crumbling when slicing.
Common Mistakes to Avoid
- Skipping the Chill Time:
- Rushing the chilling process can lead to a runny pie. Patience is key for a firm, sliceable dessert.
- Overmixing the Filling:
- Overmixing can deflate the whipped cream, resulting in a dense filling instead of a light and airy texture.
- Neglecting the Crust:
- An uneven or poorly pressed crust may crumble when served. Take your time to press it evenly and firmly.
- Using Too Much Gelatin:
- While gelatin helps the filling set, using too much can lead to a rubbery texture. Follow the recipe measurements precisely.
- Improper Storage:
- If not properly covered, the pie can absorb odors from the refrigerator. Use an airtight container or plastic wrap.
Strawberry Icebox Pie is a delightful way to showcase the natural sweetness of strawberries. With its perfect balance of creamy filling, crumbly crust, and vibrant topping, it’s a dessert that’s sure to impress. By following this guide, you’ll achieve consistent results and avoid common pitfalls, ensuring a pie that’s as beautiful as it is delicious. So gather your ingredients, set aside some time, and treat yourself and your loved ones to this refreshing dessert!